source to image
The source to image deployment approach is an interesting path to learn about the different objects needed to have a working deployment of a test application or during early development. However, it is considered very basic and discouraged for production-grade needs.
The concept is simple; target the Git repository with the code and let Red Hat OpenShift:
- Figure out the requirement to build the application binary
- Create the container image to run the application binary
- Create a Deployment for the application
- Configure the service and route to access the application
In this example, a very simple Golang application hello-path will be used to demonstrate the process. The Git repository only contains the code, no Dockerfile or Kubernetes manifest.
Here is the code:
package main

import (
    "fmt"
    "log"
    "net/http"
)

func main() {

    // print the hello message with the URL path
    http.HandleFunc("/", func(w http.ResponseWriter, r *http.Request) {
        fmt.Fprintf(w, "Hello from URL path: %s\n", r.URL.Path)

        // if URL path is root - propose a test
        if r.URL.Path == "/" {
            fmt.Fprintf(w, "Try to add /partner as a path.")
        }

        // print the URL path at the console
        if r.URL.Path != "/favicon.ico" {
            fmt.Printf("User requested the URL path: %s\n", r.URL.Path)
        }
    })

    // print message at the console
    fmt.Println("Red Hat Partner Meetup BeLux - Hello World")
    fmt.Println("--> Server running on http://localhost:8080")

    // start the service and listen on the given port
    if err := http.ListenAndServe(":8080", nil); err != nil {
        // print error messages at the console
        log.Fatal(err)
    }
}
In a nutshell, the service reads the URL's path and prints it back in logs and browser. Let's switch to OCP and get this code deployed!
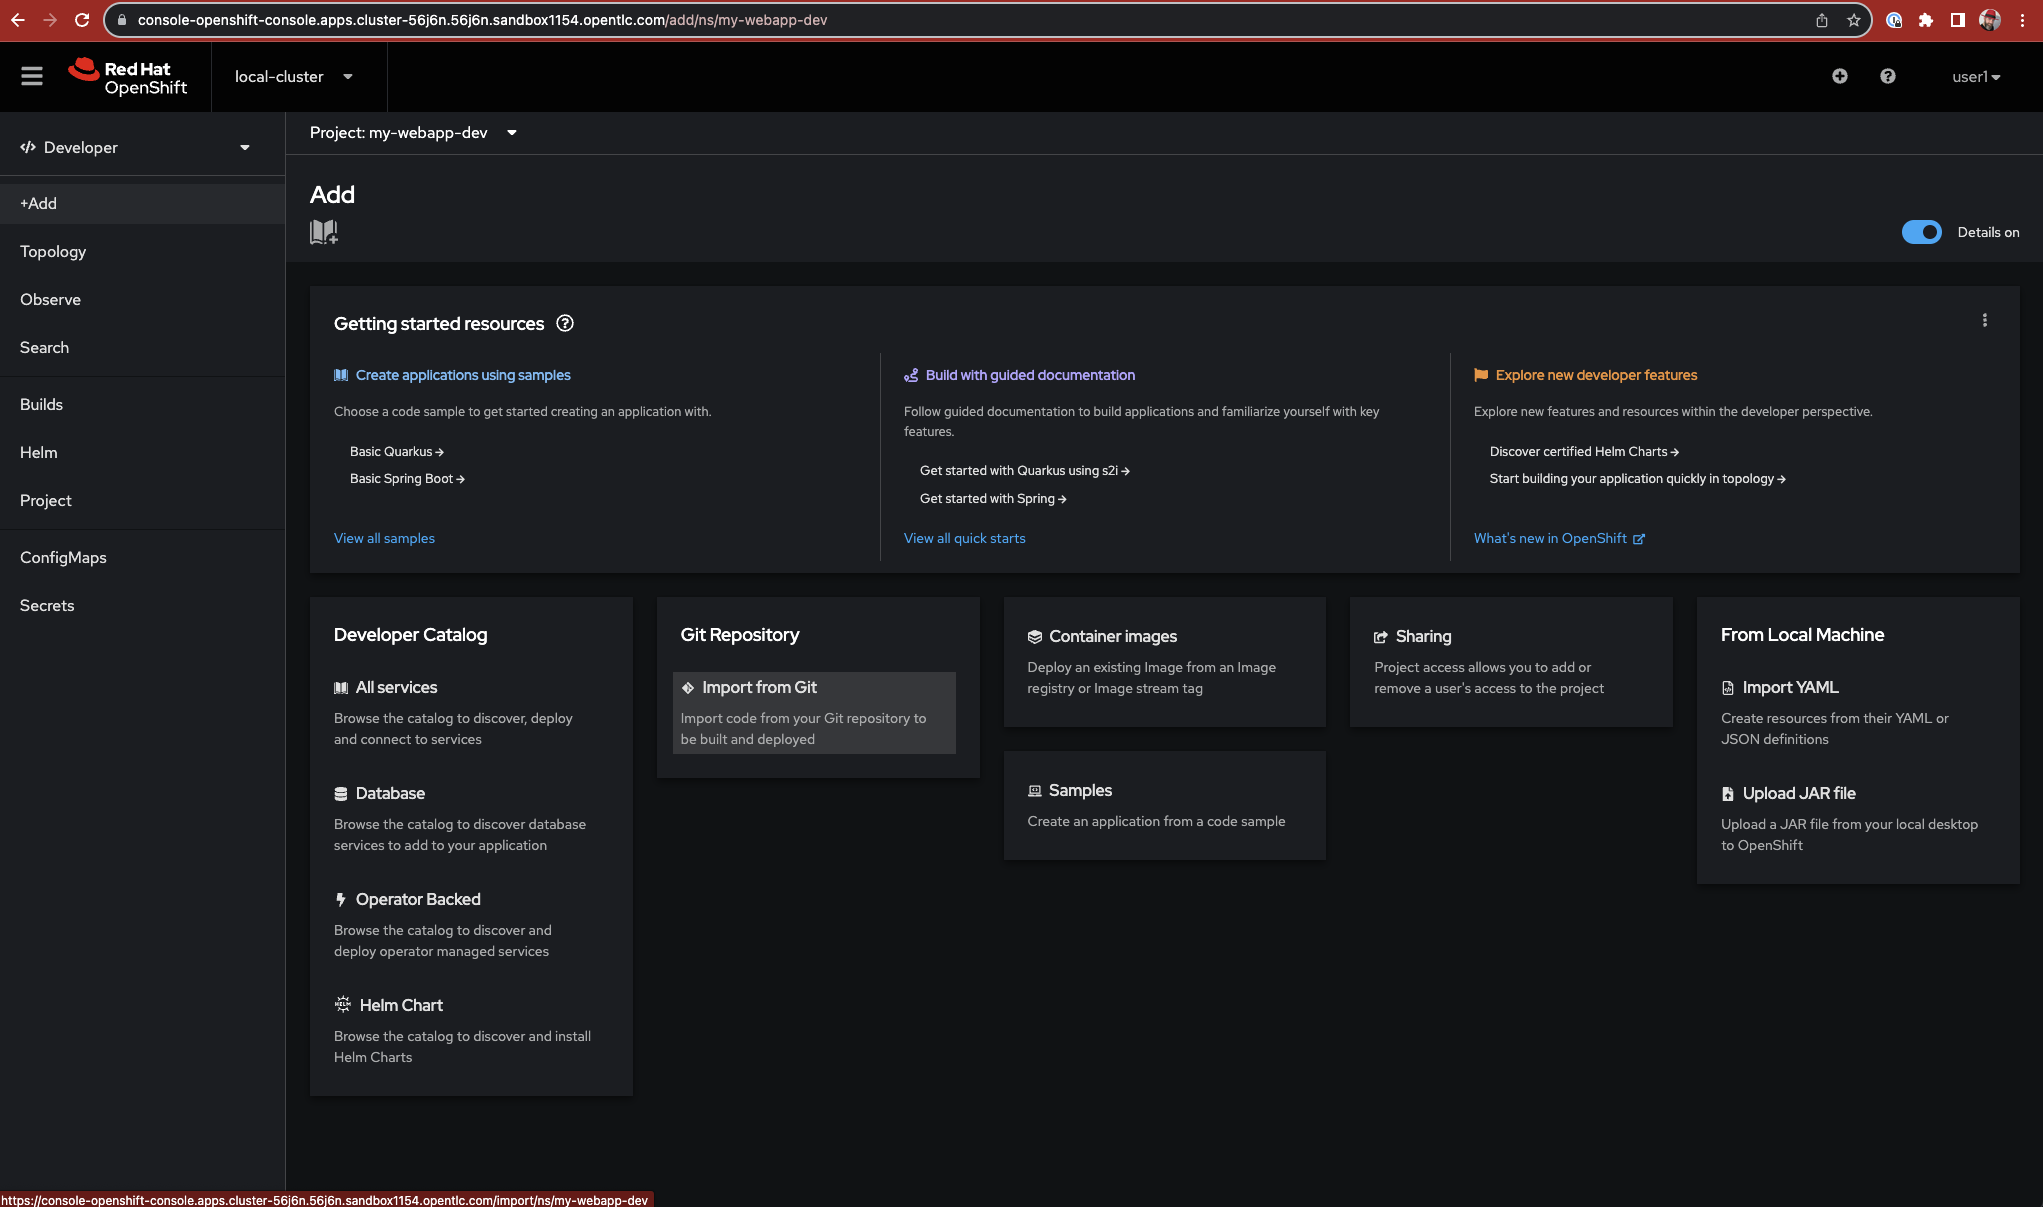
Within the Developer view
Click on the "+Add" button and select the "Import from Git"
Get the Git repo URL
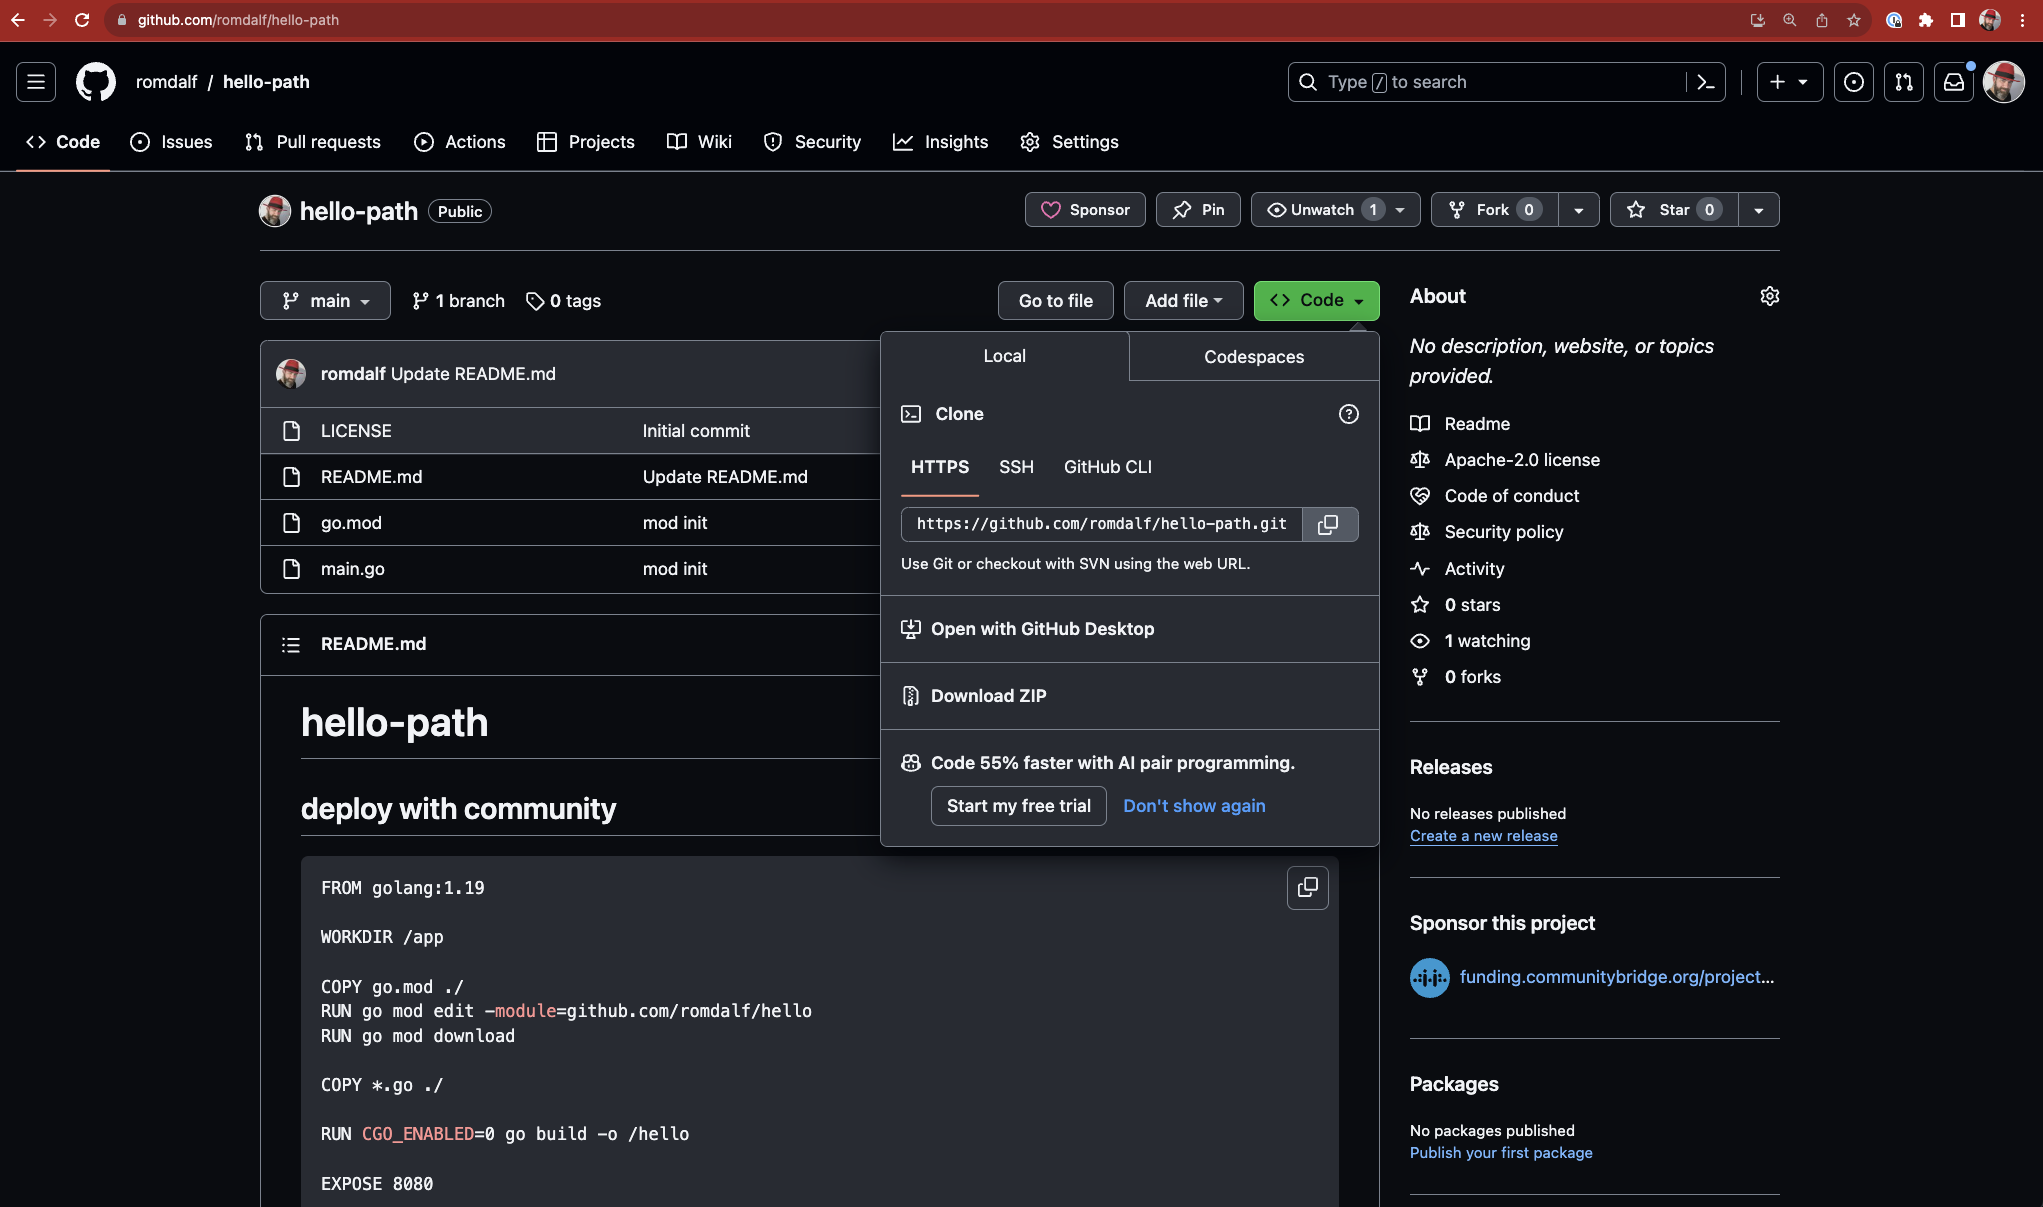
Insert the Git repo URL in the corresponding field

OCP will preconfigure everything to build and deploy. However, you can still customize everything like the "Import Strategy" and relevant build image and target image:
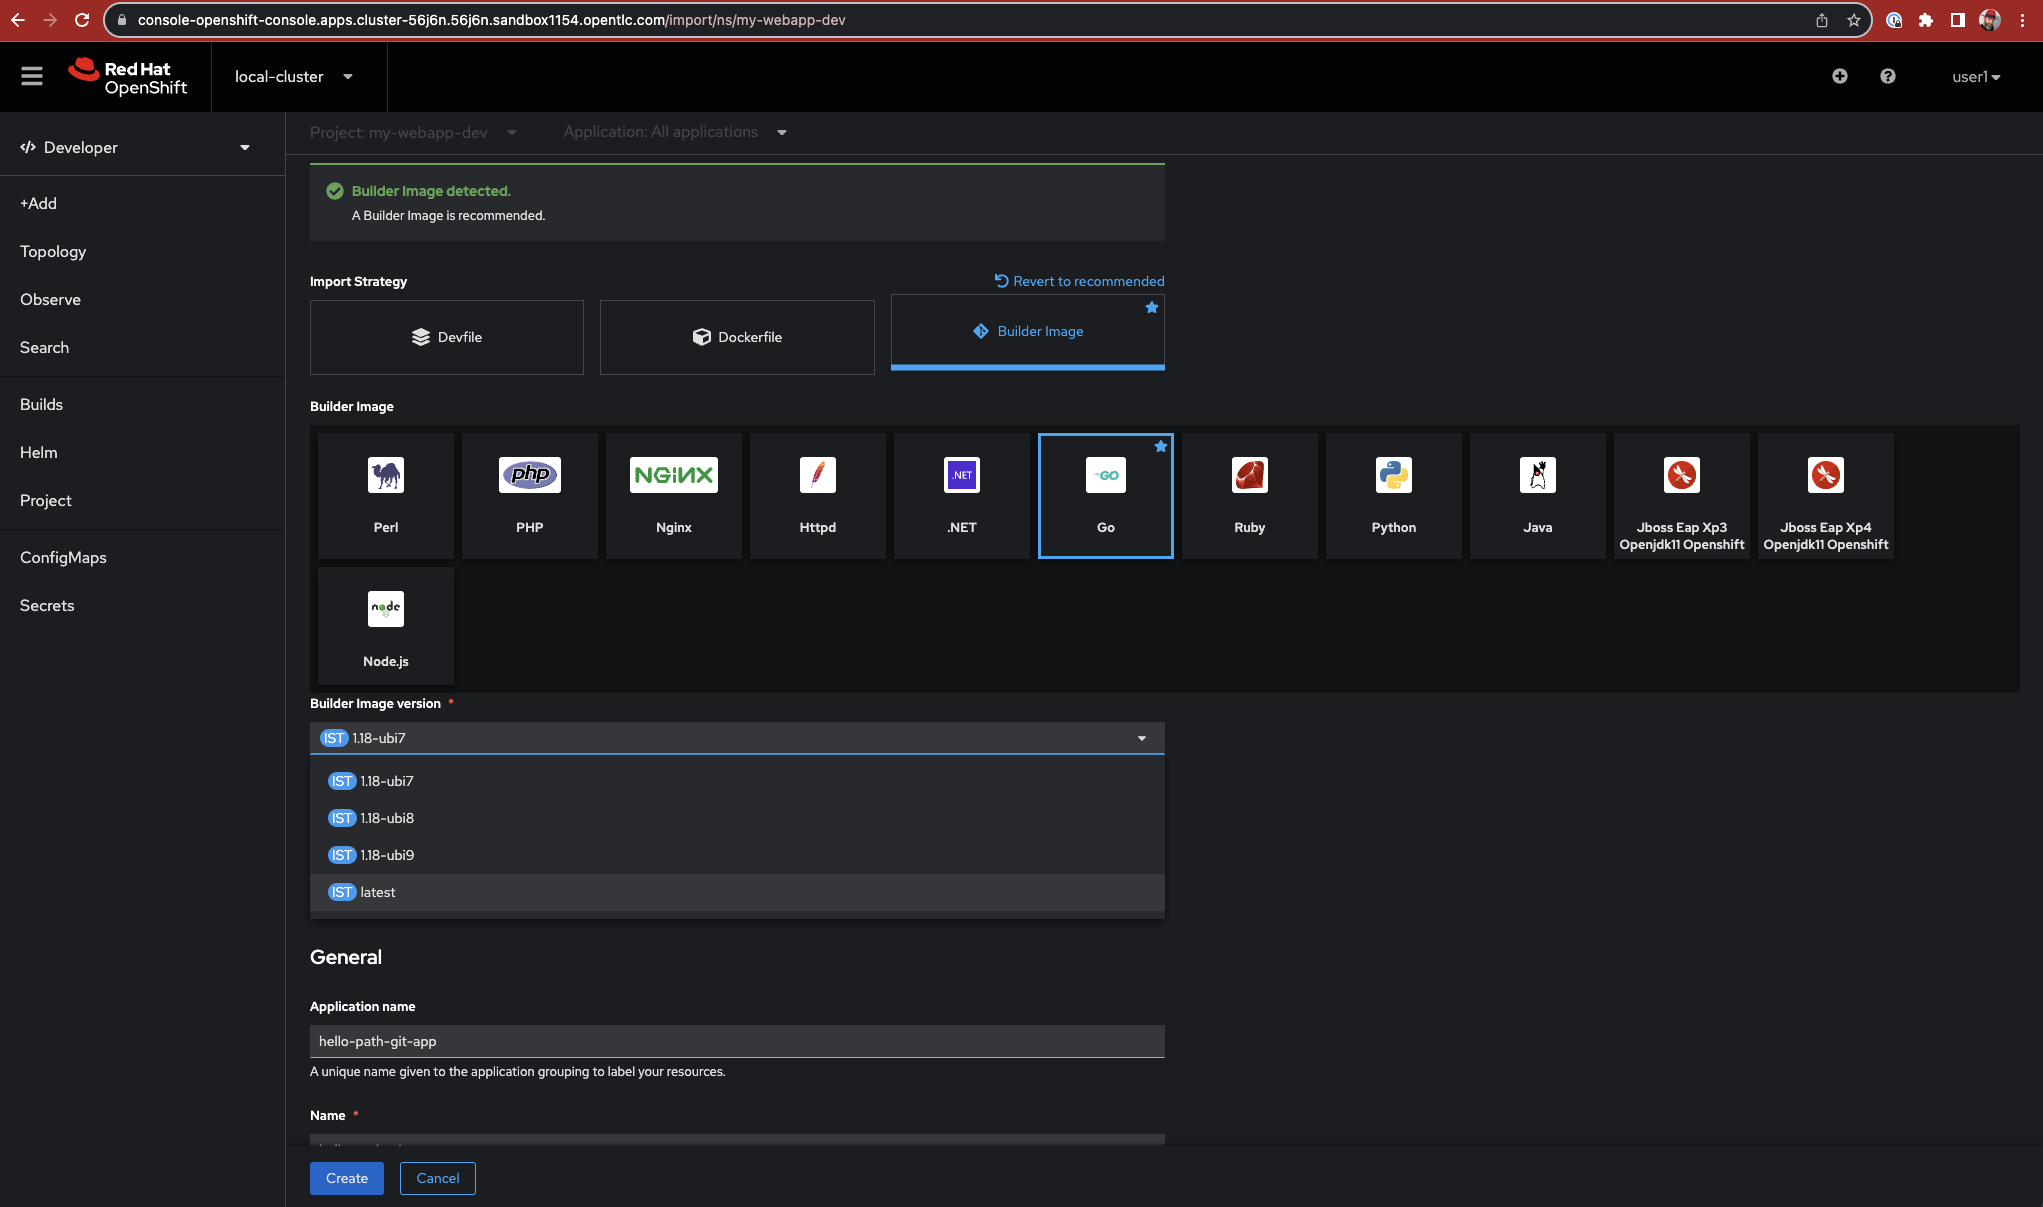
Clicking create will generate all the needed objects to build, deploy, and access the application.
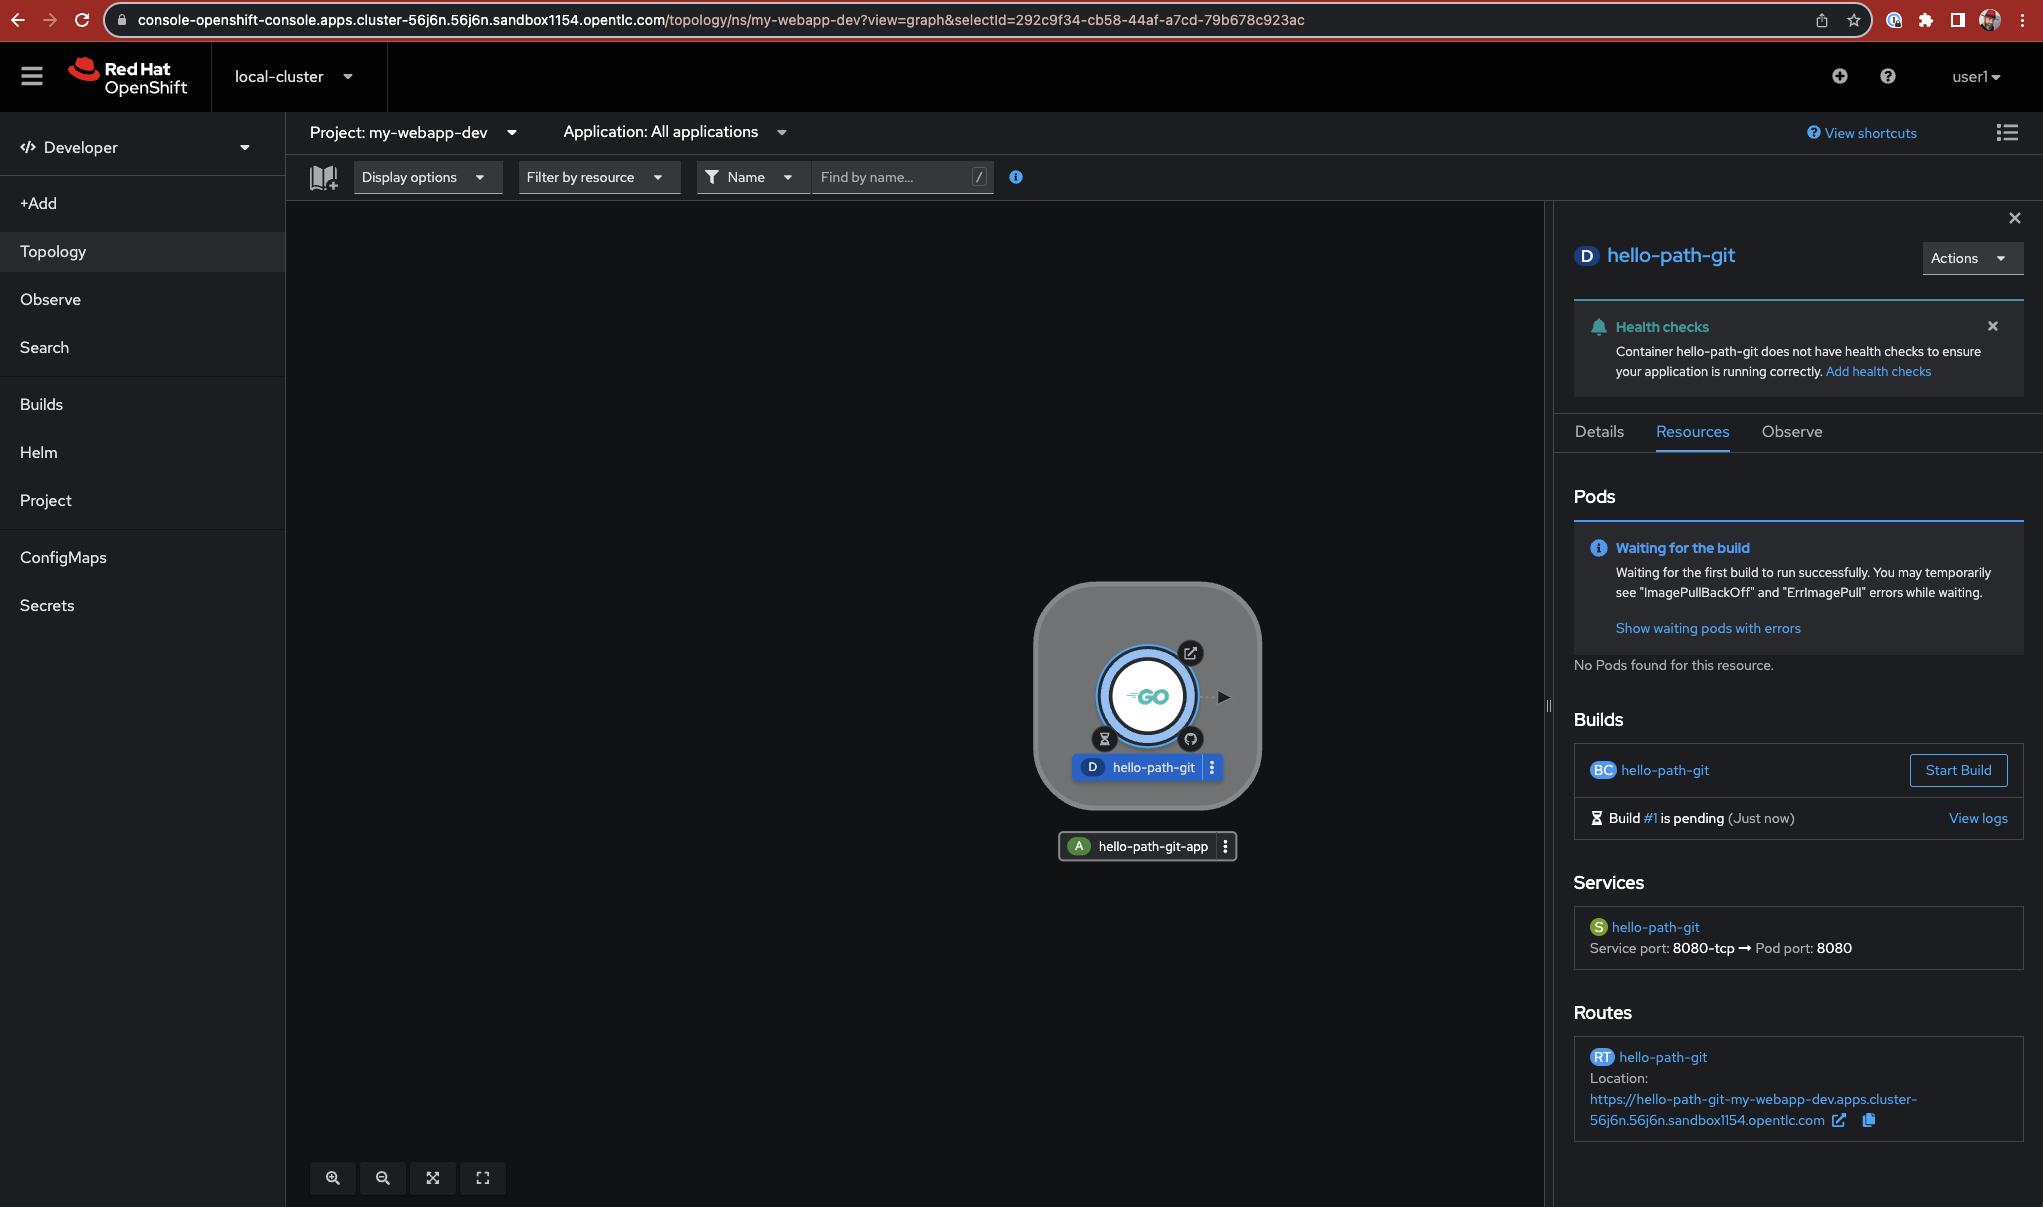
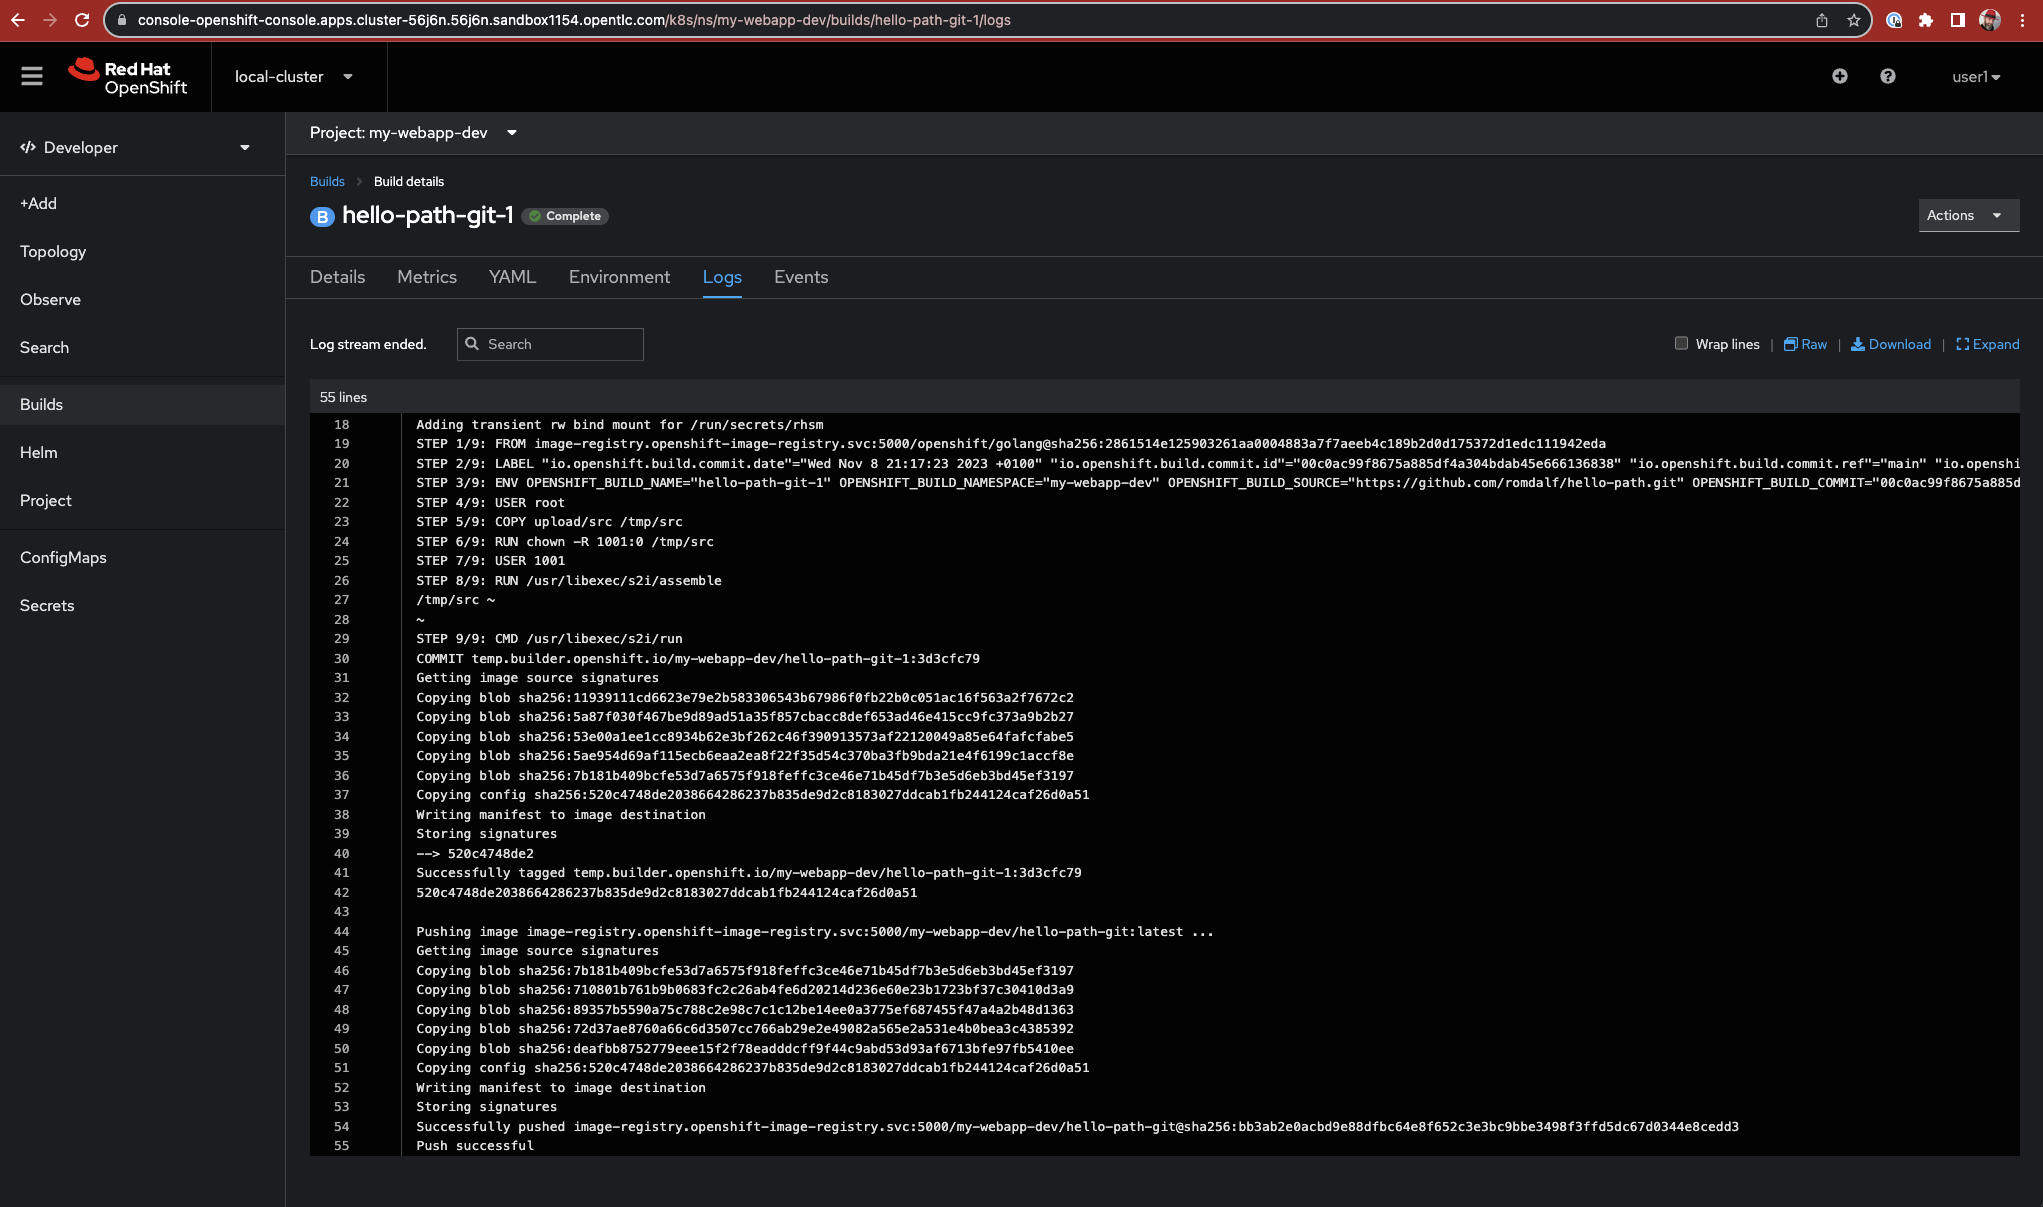
Build logs can be reviewed live by clicking on the "Go" symbol, and "View logs" within the "Resouces" tab. When finished, a green label will appear to mark the build "Complete"
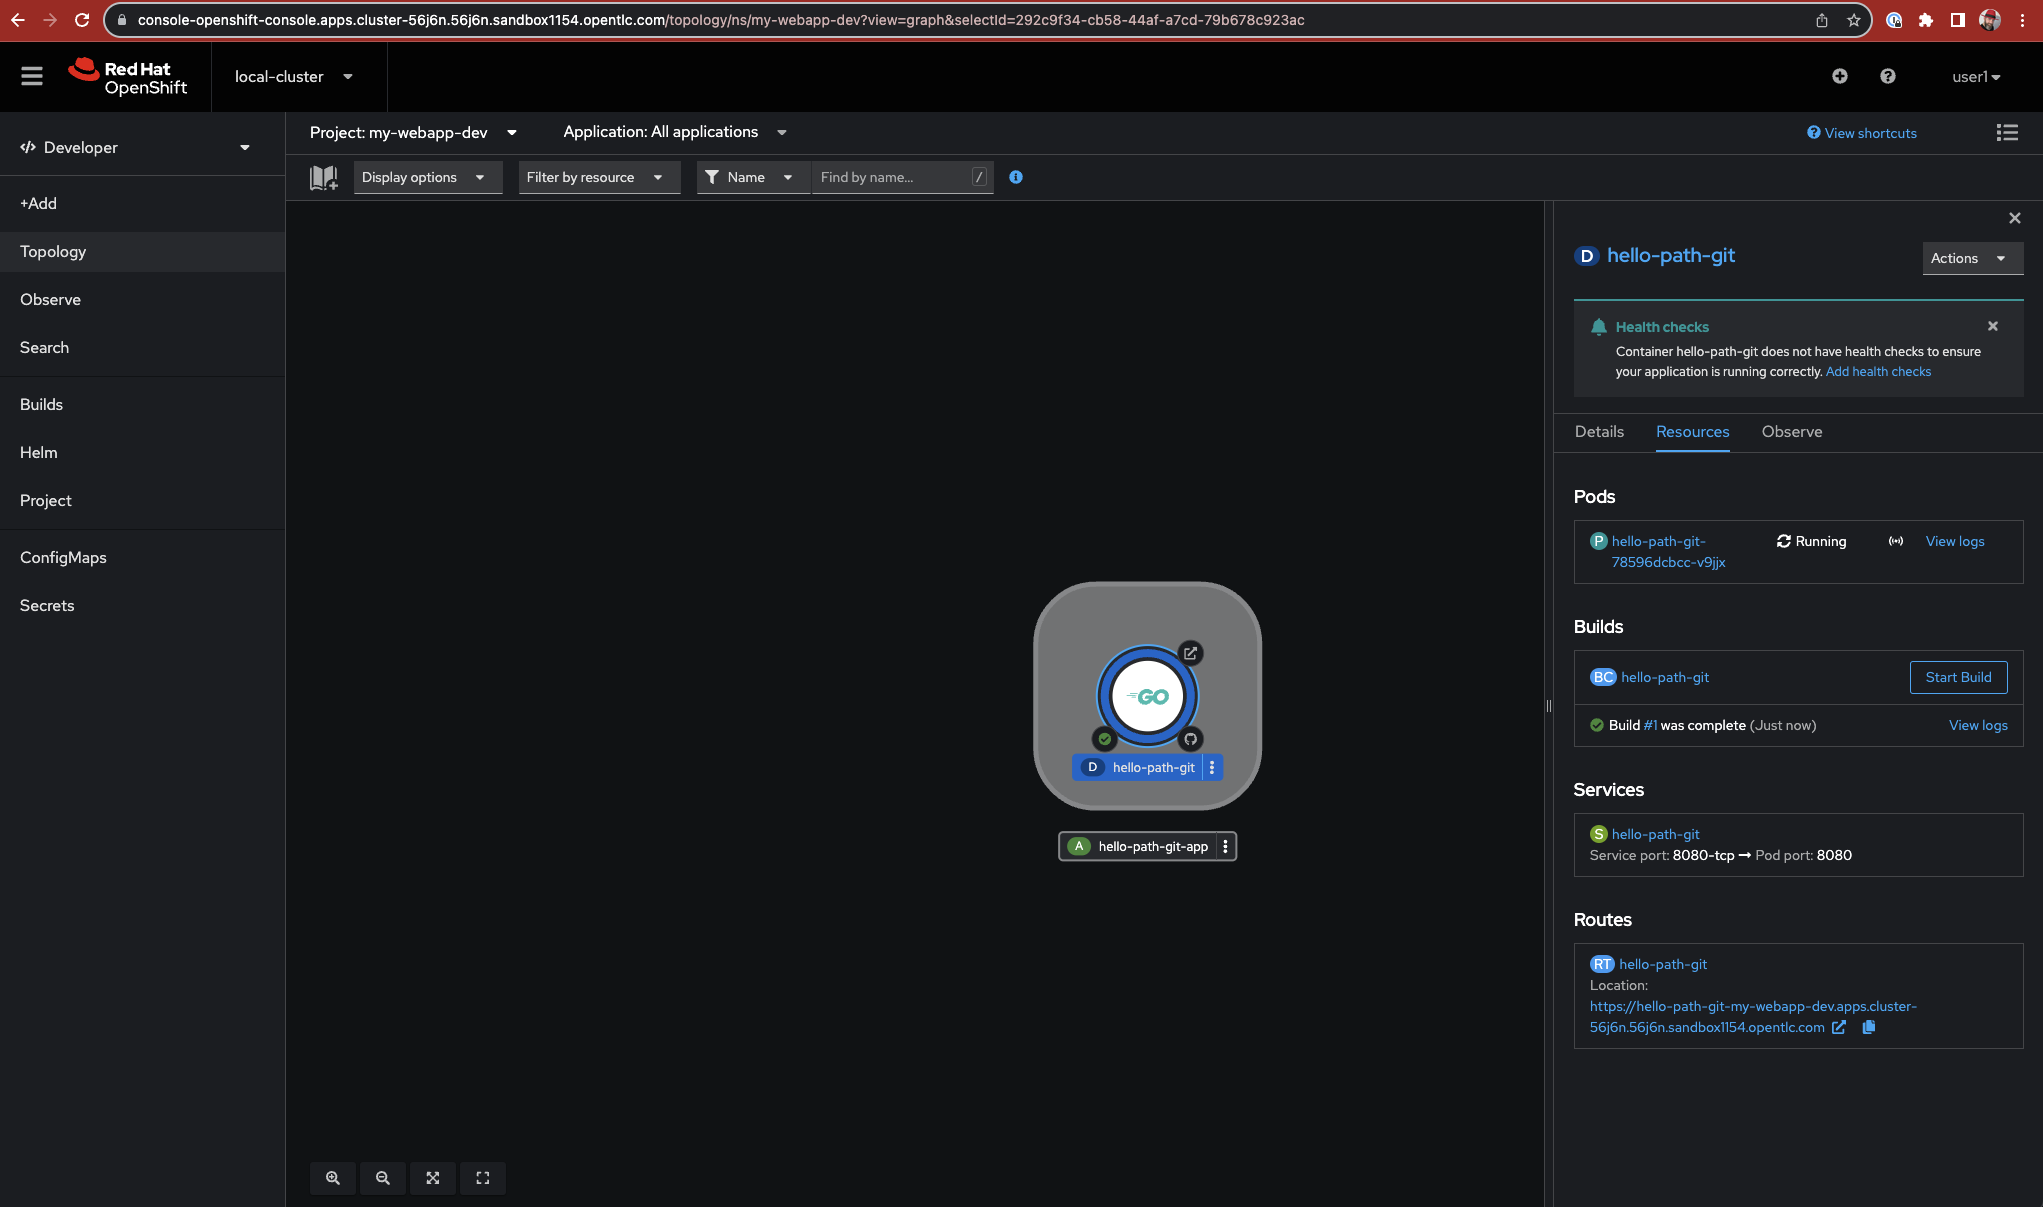
Returning to the "Topology" tab, click the "Go" symbol, the route for the application is available in the "Resouces" tab.
Modifying the URL by appending "s2i" at the end will print the path both in the browser and the logs.


The "Project" tab provides an overview of all the objects created within the Project,

As an example, the clicking "Service", then exploring the hello-path-git service object in YAML is a good start to understand how the manifest would look like:

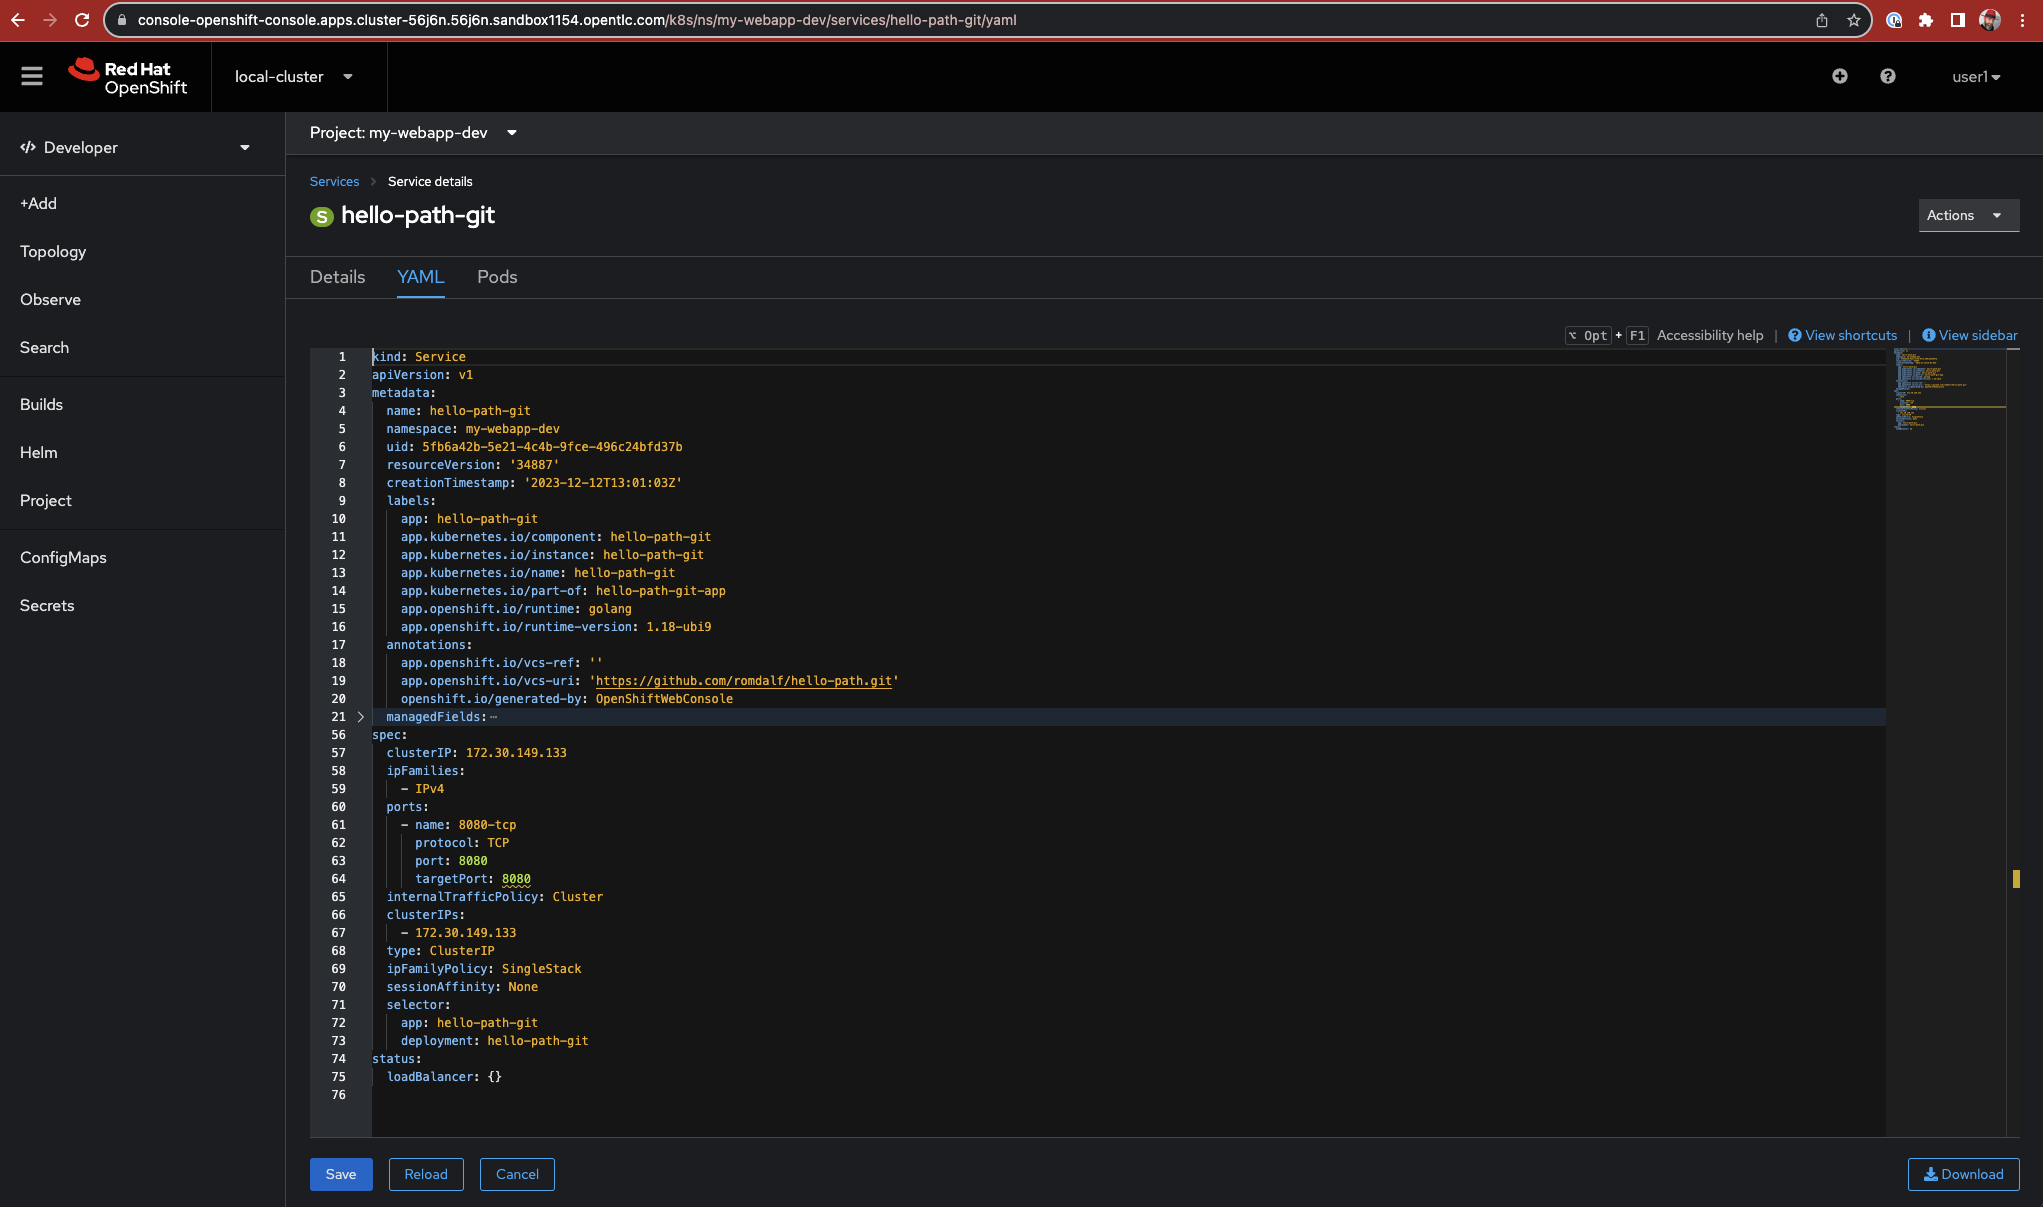
The below output is a stream down version of the Service manifest that could be applied to create the relates Service API object to expose the port 8080:
kind: Service
apiVersion: v1
metadata:
  name: hello-path-git
  namespace: my-webapp-dev
spec:
  clusterIP: 172.30.149.133
  ipFamilies:
    - IPv4
  ports:
    - name: 8080-tcp
      protocol: TCP
      port: 8080
      targetPort: 8080
  internalTrafficPolicy: Cluster
  clusterIPs:
    - 172.30.149.133
  type: ClusterIP
  ipFamilyPolicy: SingleStack
  sessionAffinity: None
  selector:
    app: hello-path-git
    deployment: hello-path-git